
Table of Contents
2.Install Desktop Client (Windows)
3.Install OwnCloud Client (MacOS)
4.Install Owncloud App (iPhone)
6.Knowing a Status (Windows and Mac)
7.How to Update Client Software
8. How to create a shared folder
If you want to download PDF version, please go to bottom of this page to get it.
1. How to Login
Using your browser, access URL (provided by IT admin) and enter the credential information.
2. Install Desktop Client (Windows)
1. Log in to OwnCloud using your credential.
2. Find to Right Corner menu and click Personal.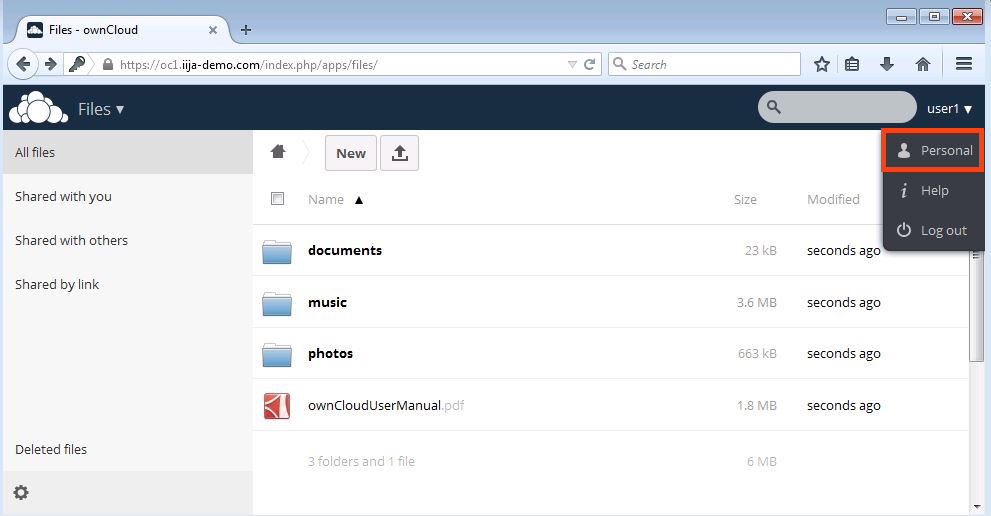
3. Click Desktop App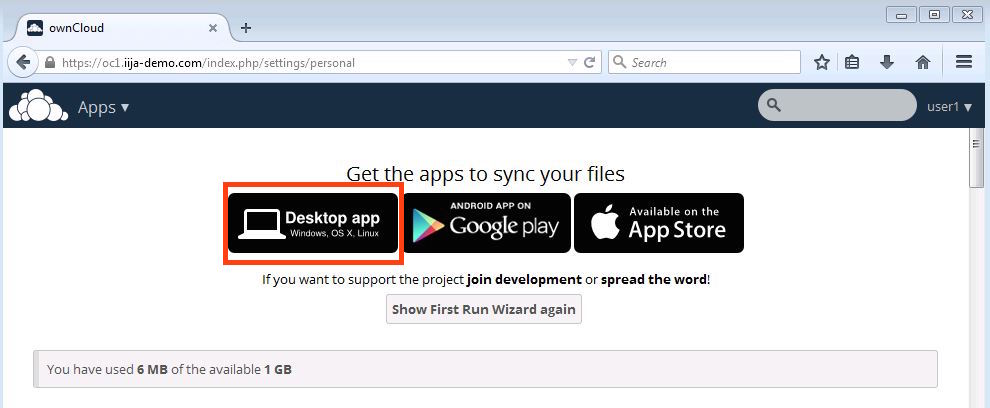
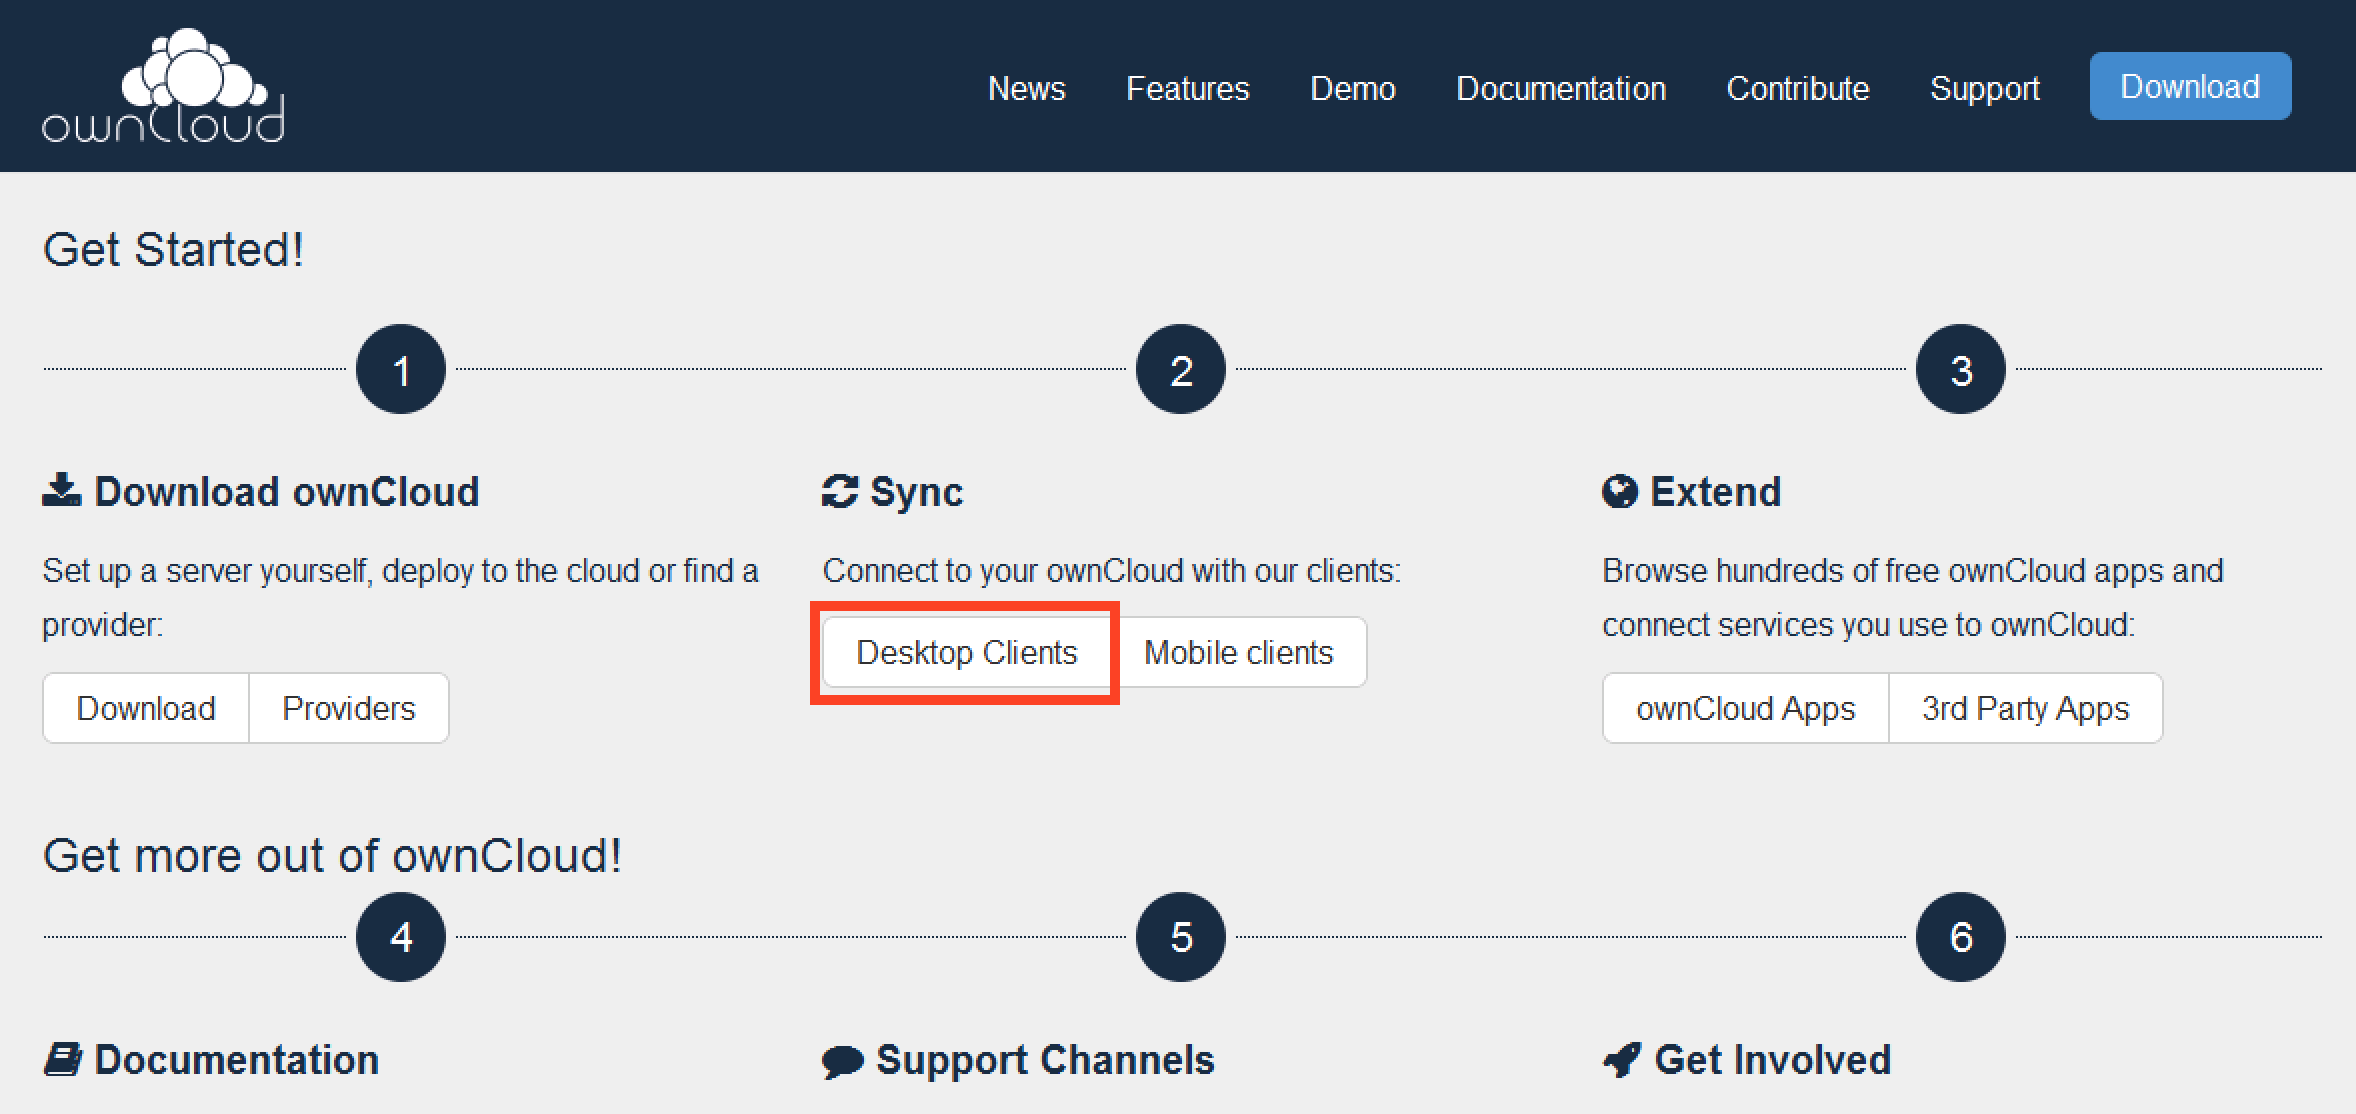
3-1. Click Desktop clients

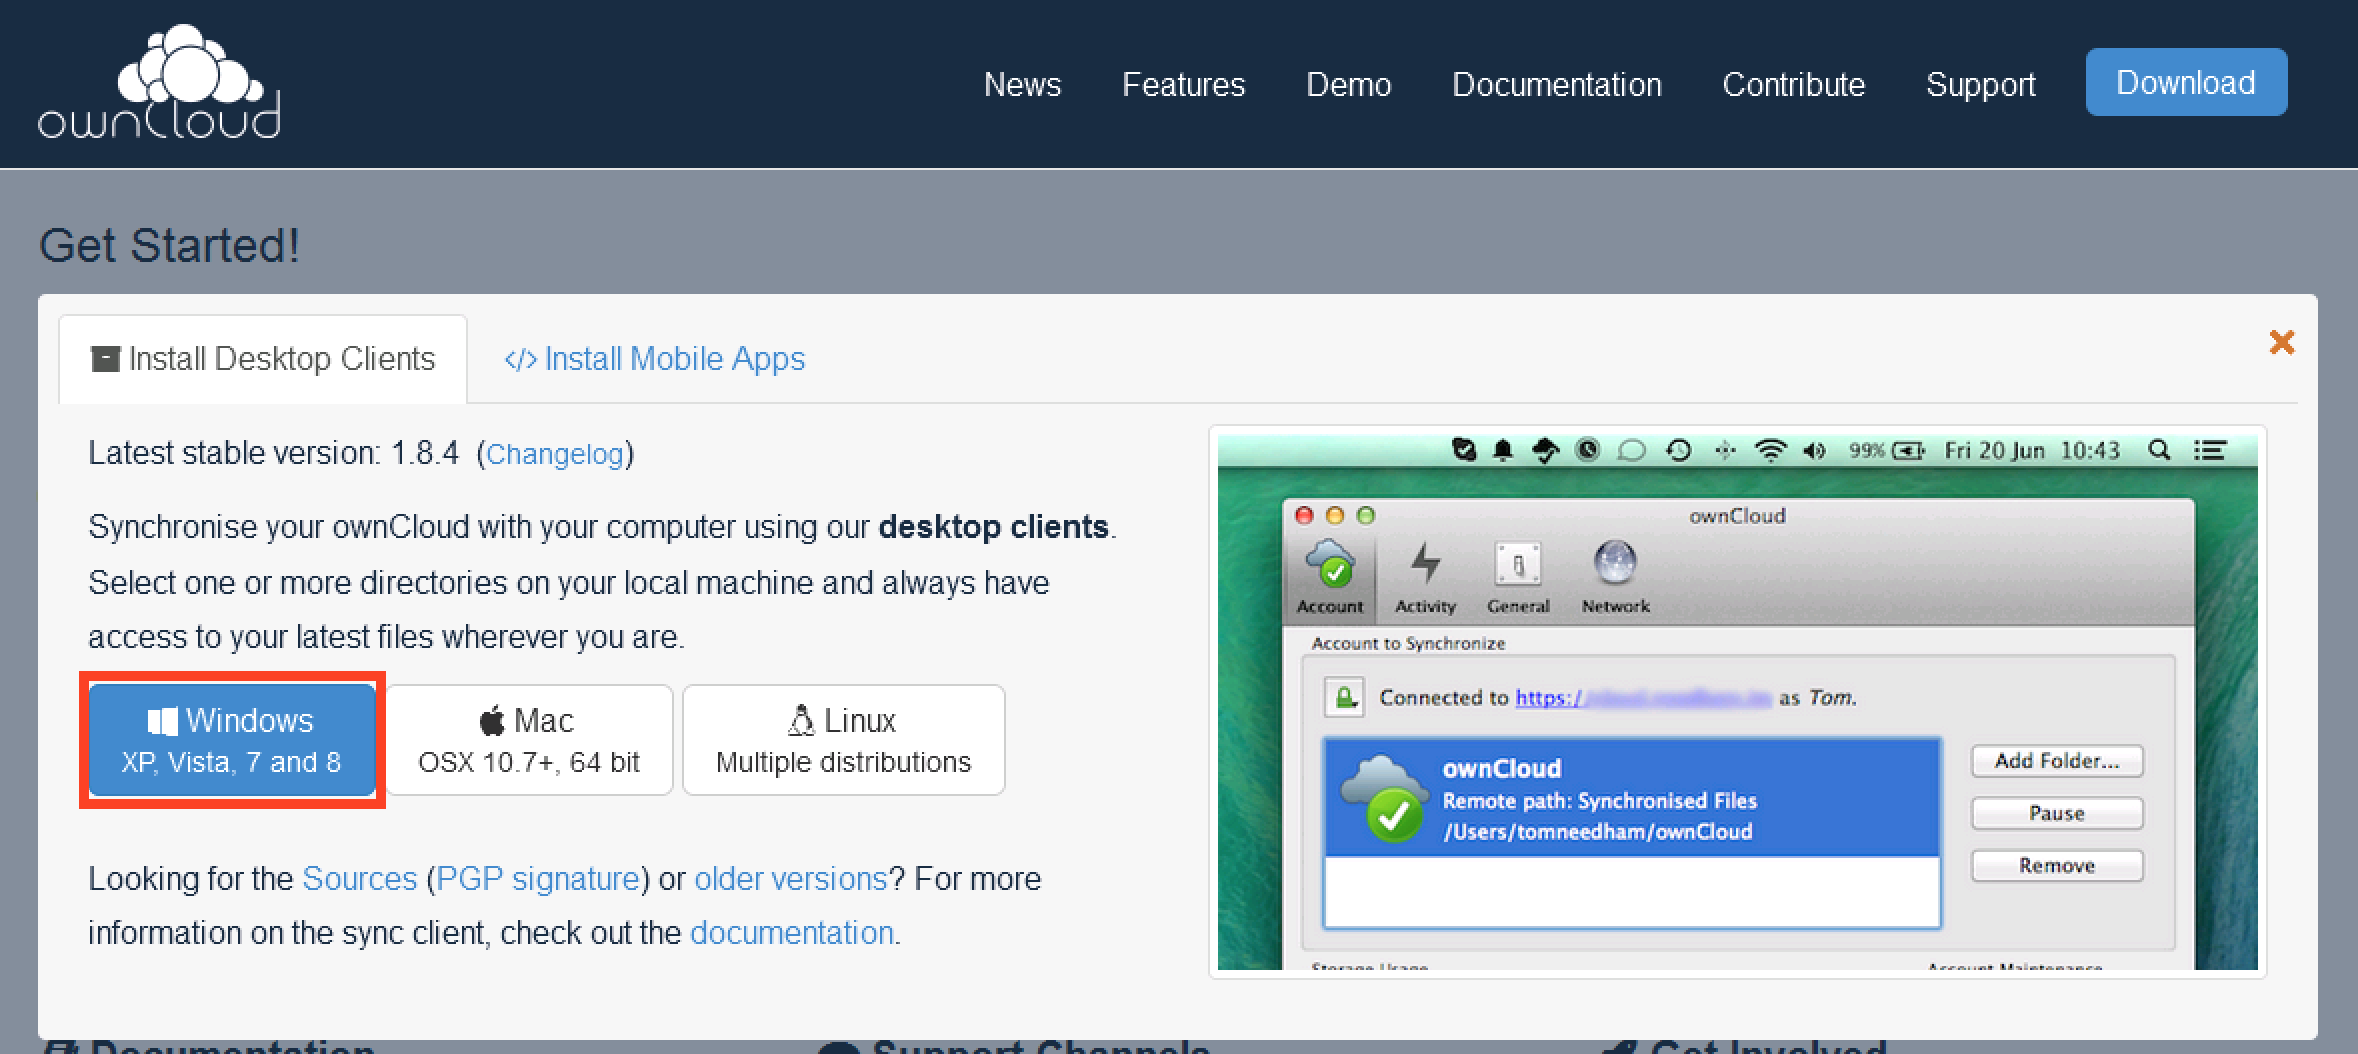
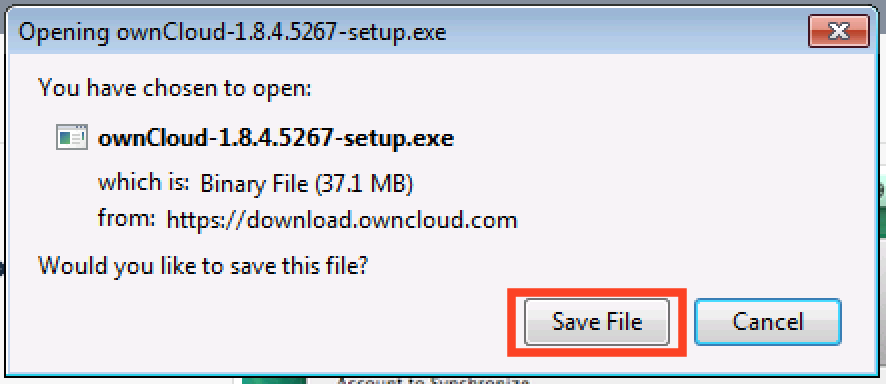
4. Select Windows Installer and Save
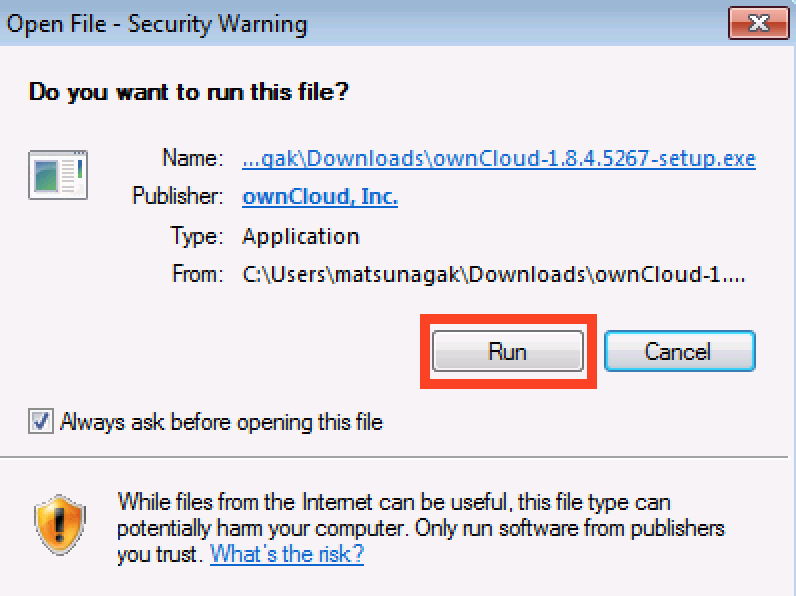
5. To Start the Installer, click "Run"
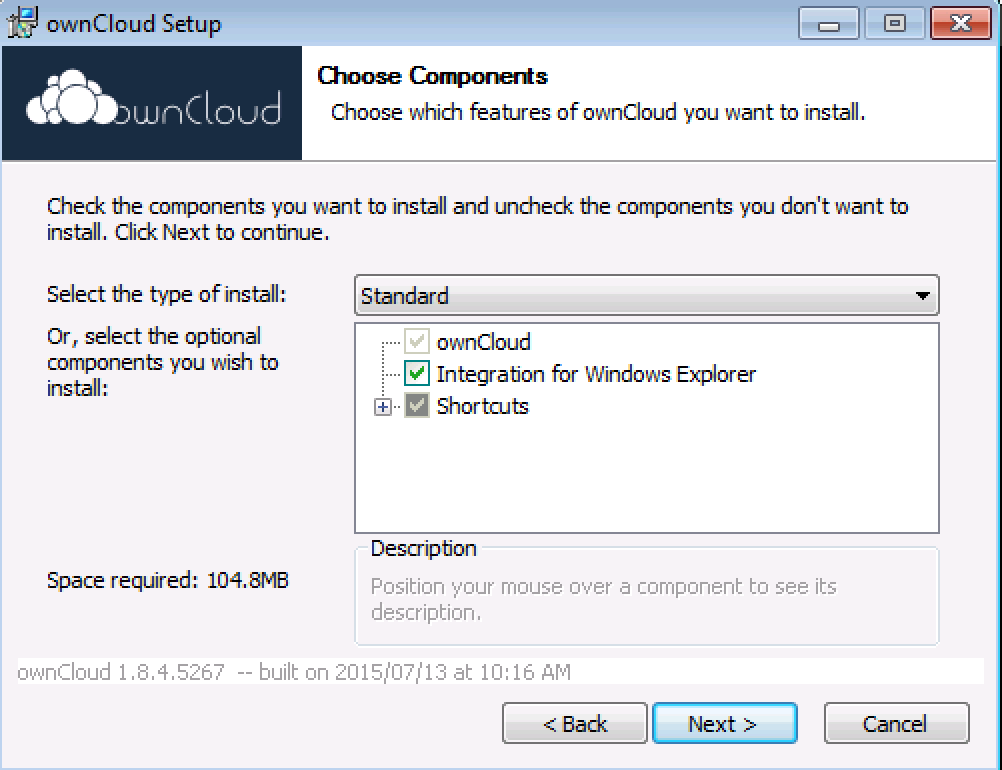
6. Click "Next"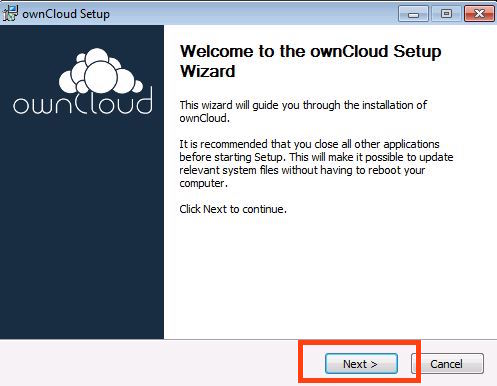
7. Click "Next"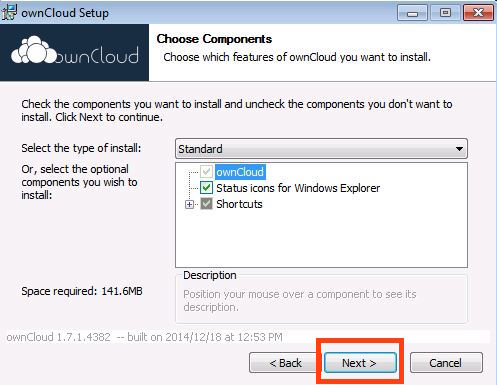
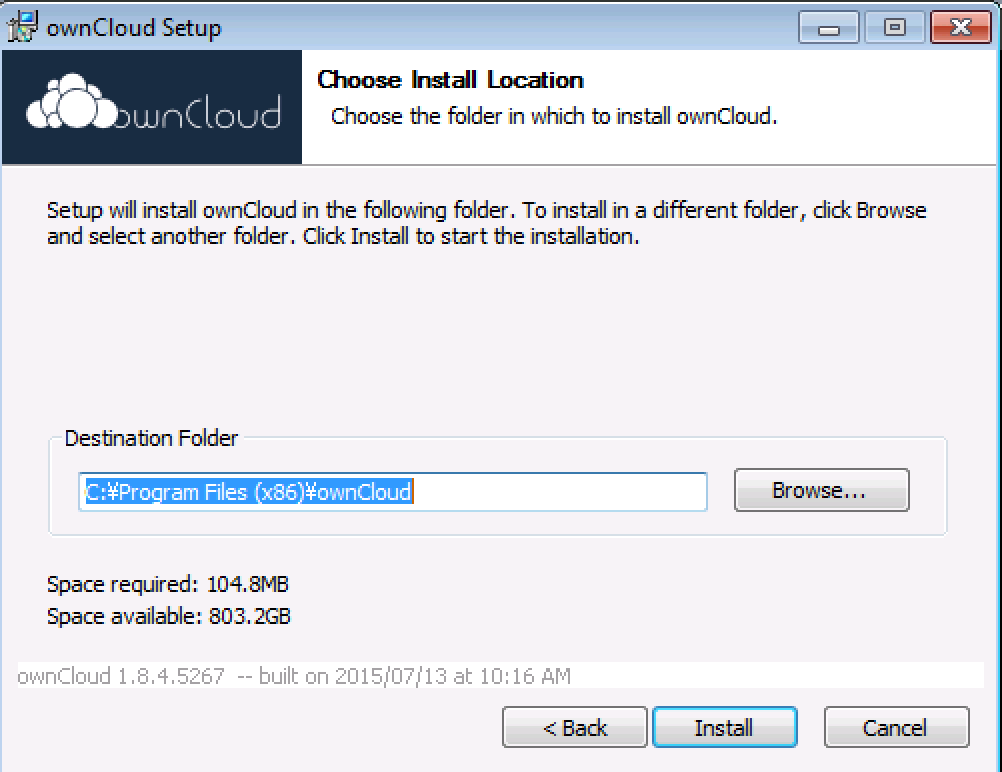
8. Click "Install"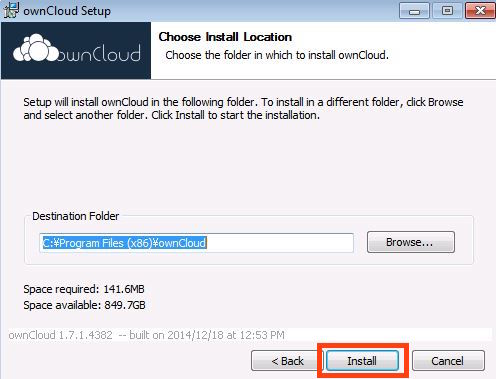
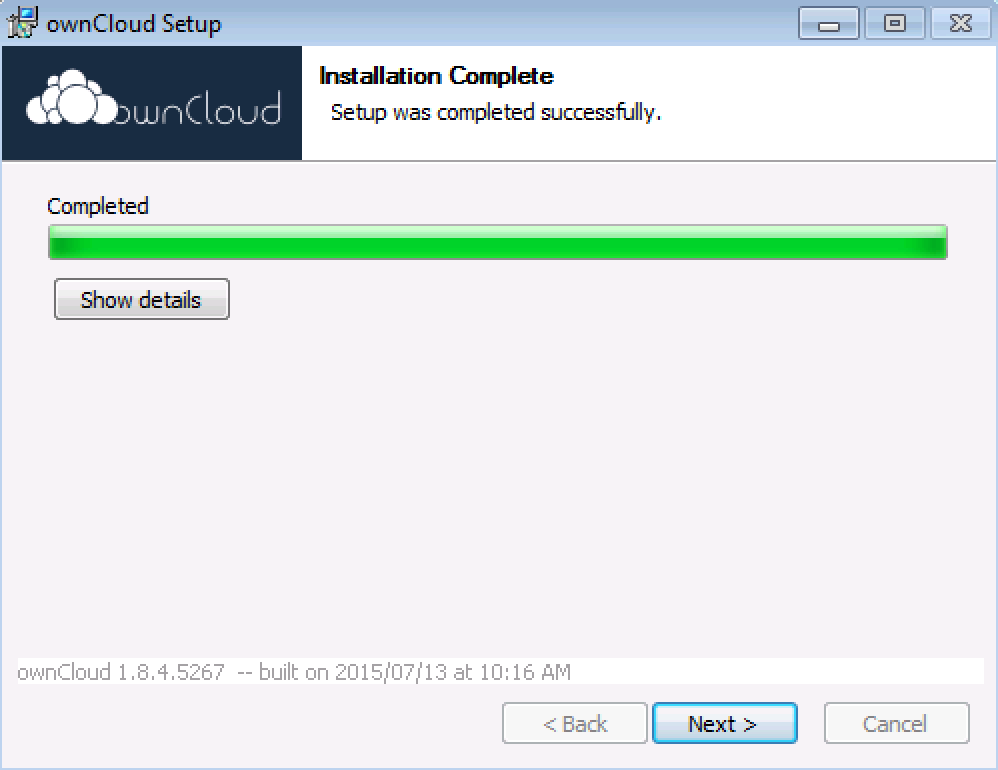
9. Wait until finish and click "Next"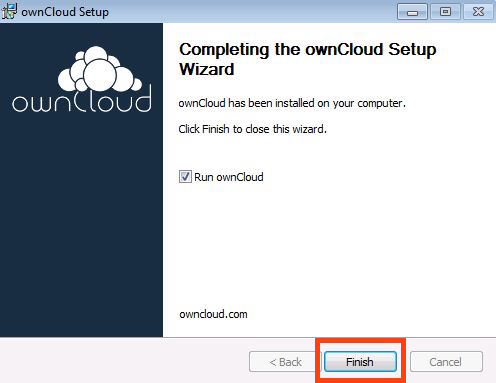
10. Enter the Server URL (must be given by IT Admin) and "Next"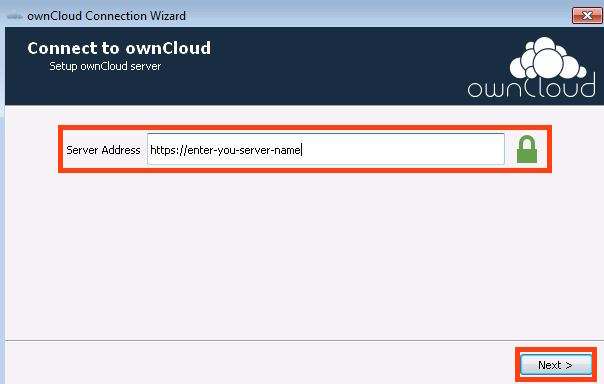
12. Check to enable "Trust this certificate anyway" and "OK" (only if server has a self sighed certificate)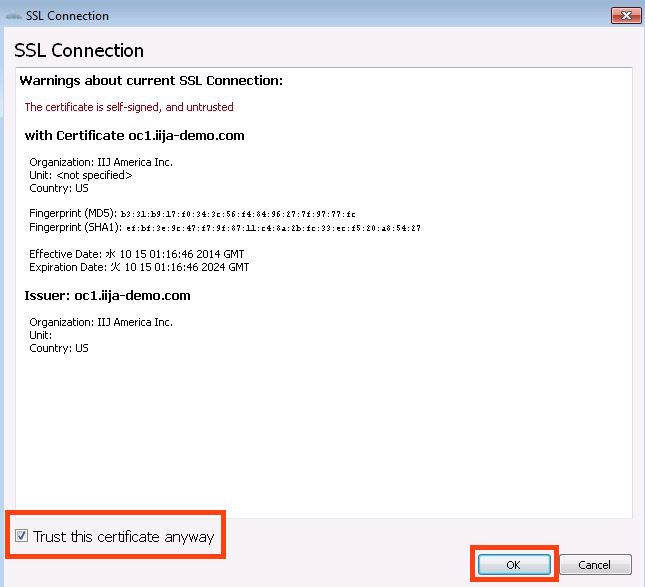
13. Enter the username and password (must be given by IT Admin)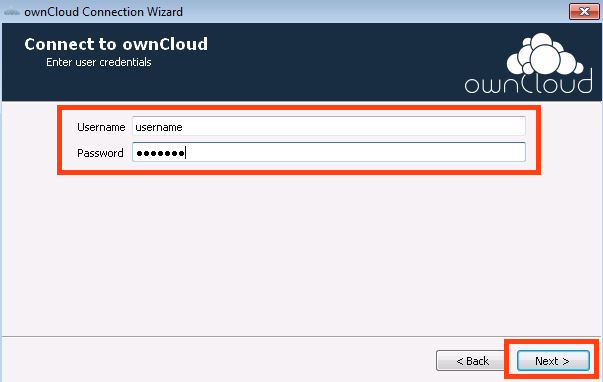
14. Click "Connect"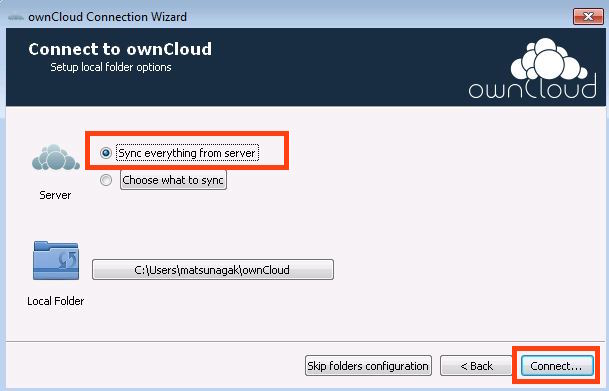
15. Click "Finish" and your setup is done!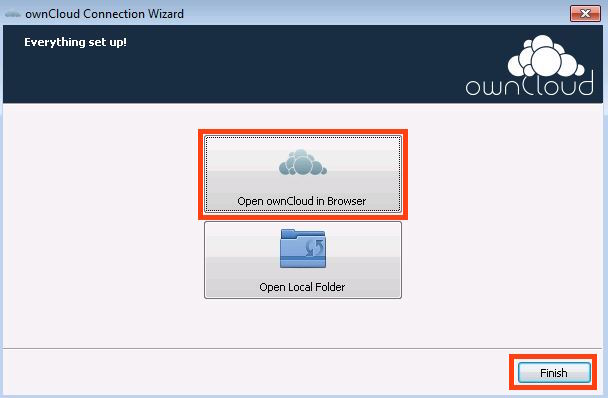
16. To find a location of owncloud folder on your PC.
GO TO Start>Computer, you will see following window.
Simply by putting your documents (Drag & Drop or specify save location to this directory) to this folder it syncs with owncloud server.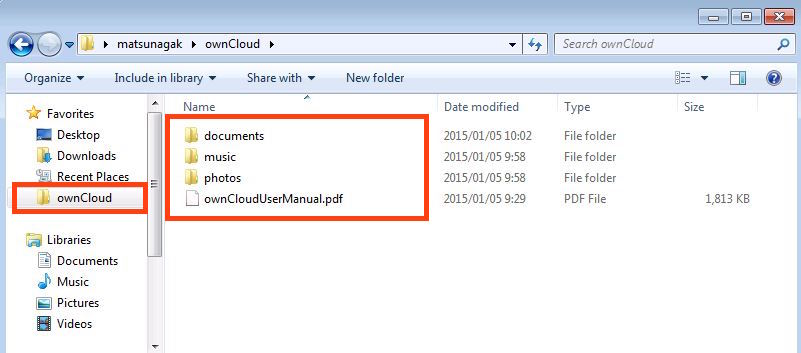
17. END
3. Install OwnCloud Client (MacOS)
1. Log in to OwnCloud using your credential.
2. Find to Right Corner menu and click Personal.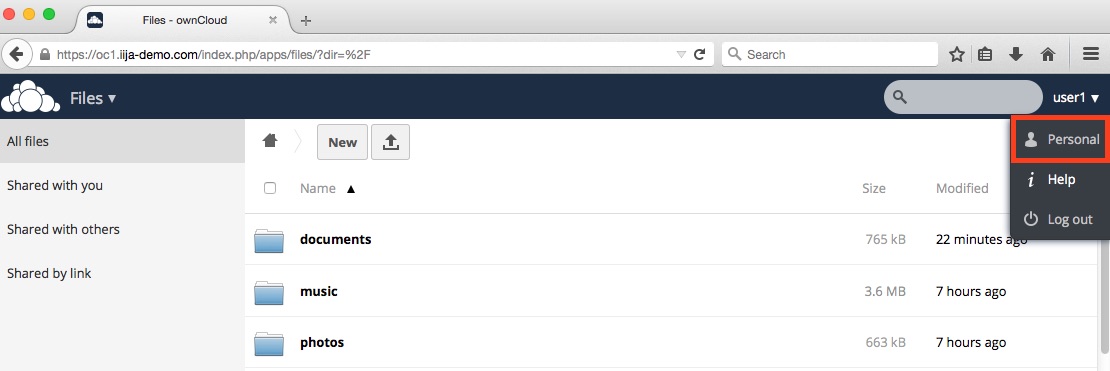
3. Click "Desktop App" icon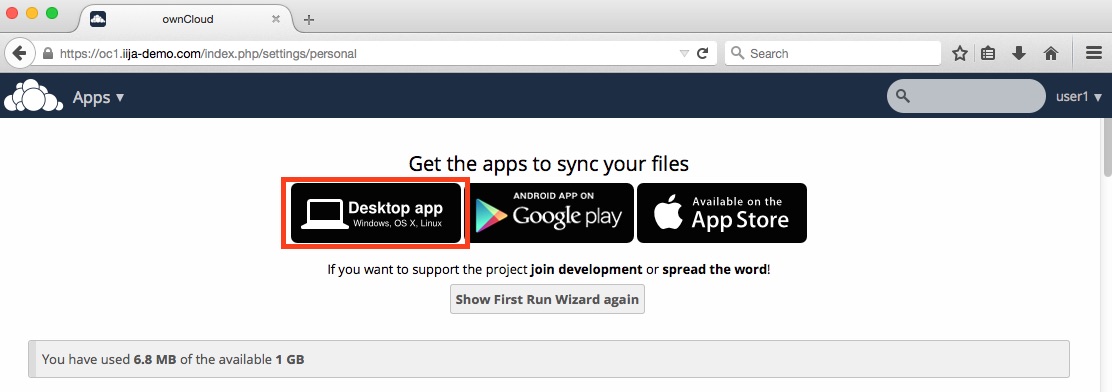
4. Select Mac icon and Save File (Download) Software to mac.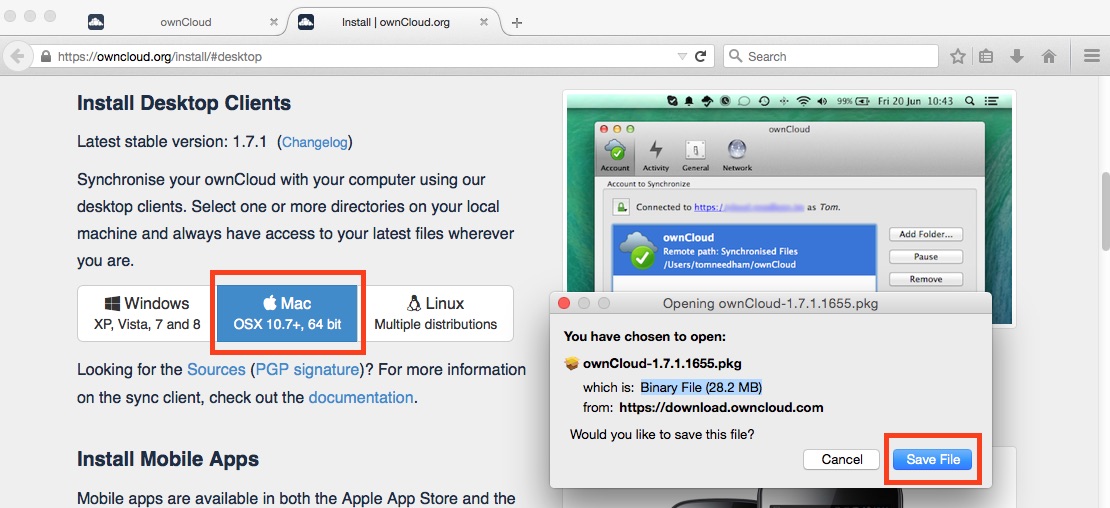
5. Execute software and click continue.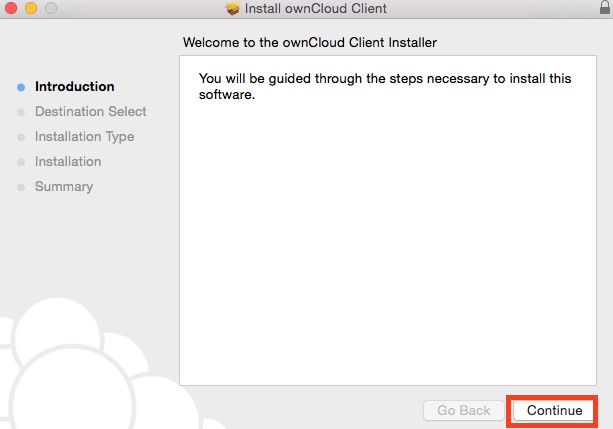
6. Click "Install".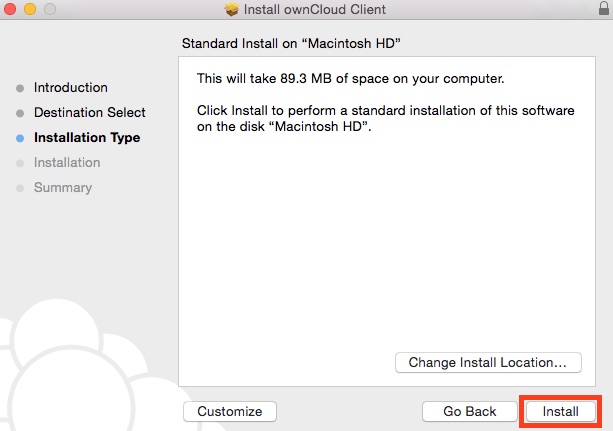
7. Click "Close".
8. Find "OwnCloud App" from Application menu and click to open.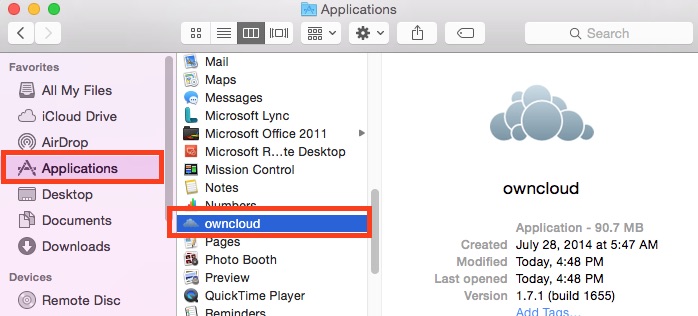
9. Enter server name (given by your IT admin) and click Next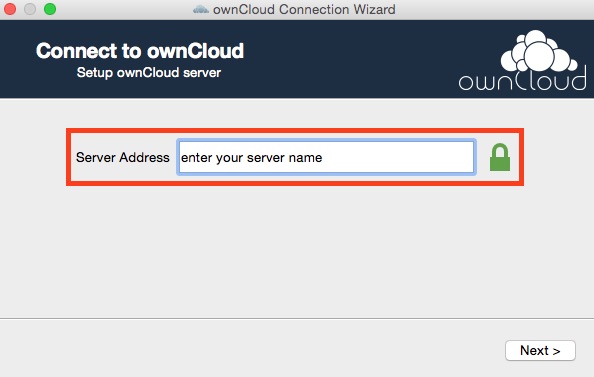
10. Click to enable "Trust this certificate anyway" (self-signed) and click Next.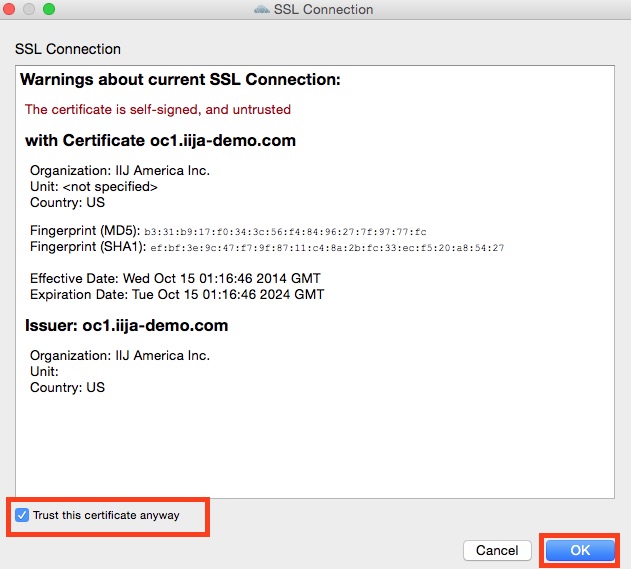
11. Enter username and password (given by IT admin)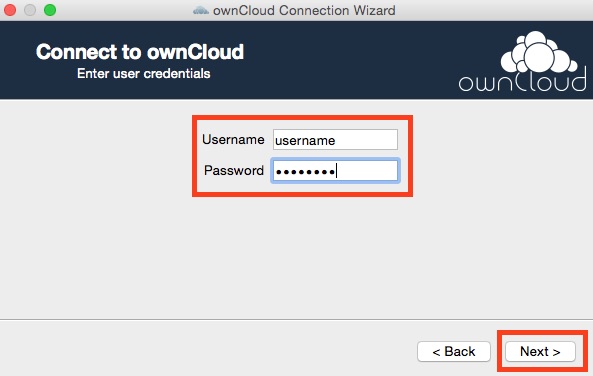
12. Select Sync everything from server and connect.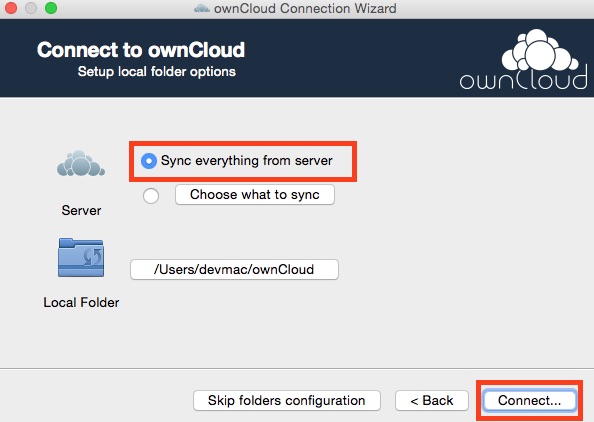
13. Click "Finish"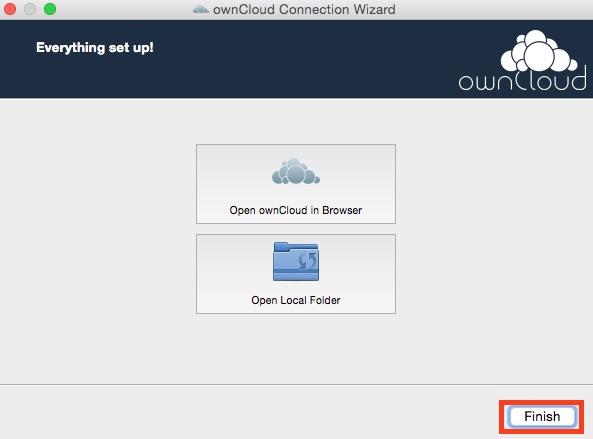
14. You will find a "Owncloud Folder" within local drive. Anything you save within this folder will automatically sync to the cloud.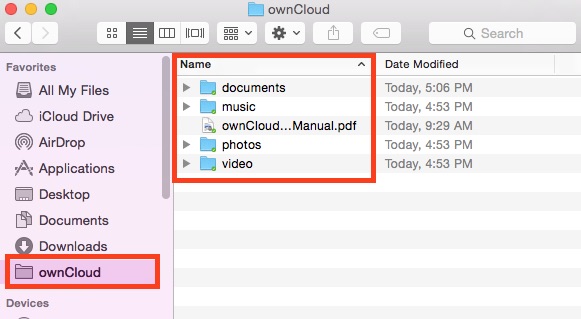
15. END
4. Install Owncloud App (iPhone)
Download Owncloud App from App store
1. Search and Download OwnCloud App from App store (Fee will apply)
2. Open OwnCloud App icon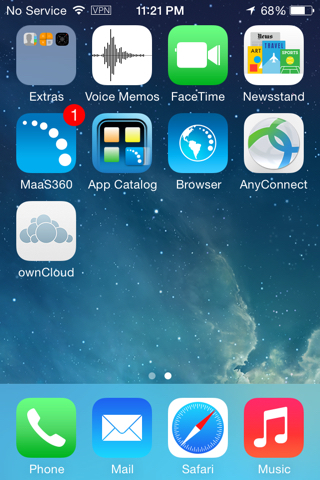
3. Enter the server and user credential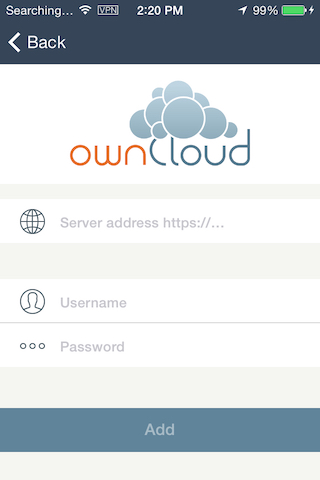
4. Finish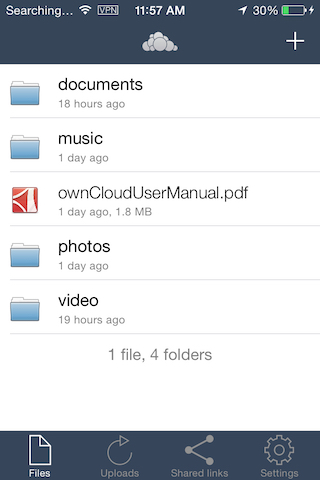
5. How to Access client menu
5-1. How to Access client menu (Windows)
1. Find a client icon in task bar or start from menu, then click to open.
2. You will find various menu (check quota usage, sync activity etc..)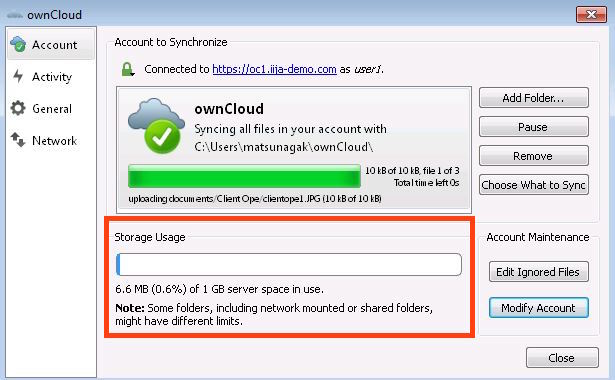
5-2. How to Access client menu (MacOS)
1. Find a client icon in task bar then click to settings.
2. You will find various menu (check quota usage, sync activity etc..)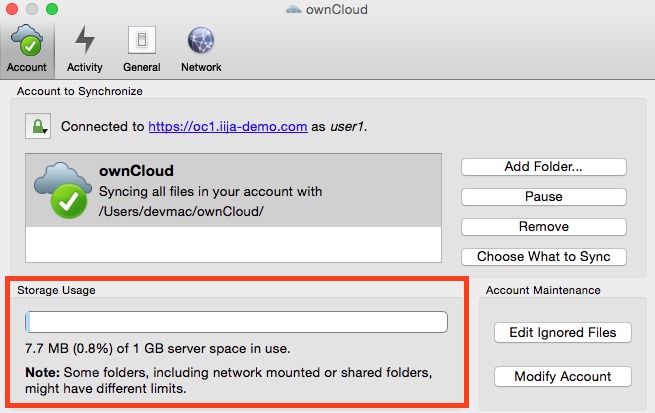
6. Knowing a Status (Windows and Mac)
The client icon tells you about status of sync activity.
1. Client is Online (Good)
2. Client is Syncing Data (Good)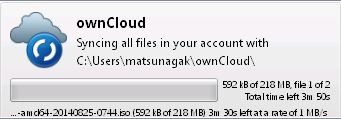
3. Client is on hold (check client and click "Resume" to become online)
This is usually when you manually set client Hold status. you need to resume in order for client back to online status.
4. Client is Offline (Bad)
The Network connection become unavailable or Account password has expired/changed.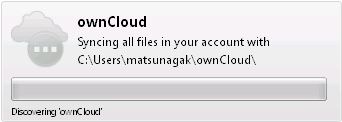
7. How to Update Client Software
Windows Client update
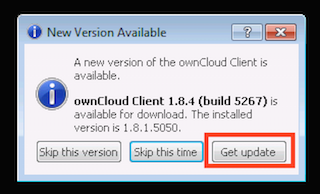
1. You will get prompt message when there is an update.
2. Click Desktop Client.
3.Click Windows
4. Download setup.exe to your PC, click Save.
5. Click Run
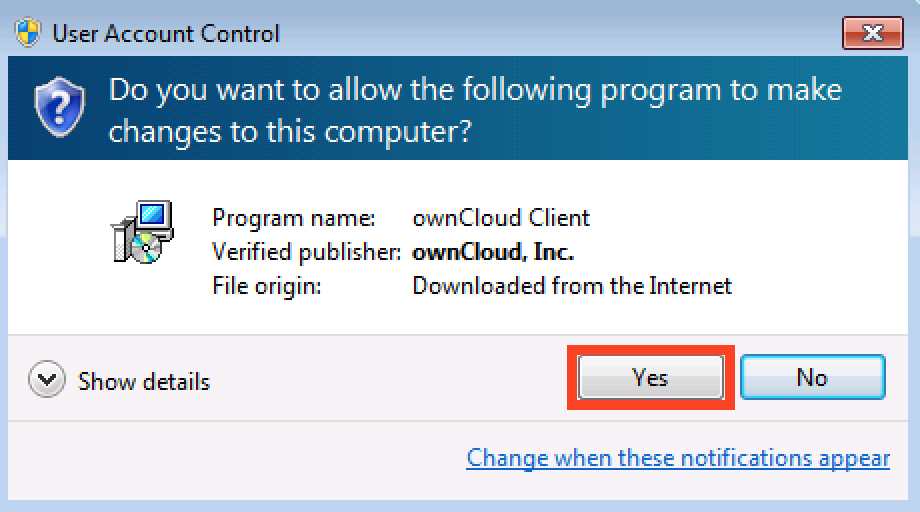
6. Click Yes
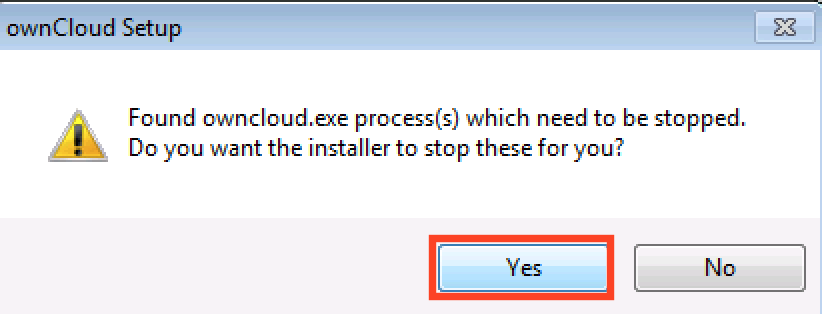
7. Click Yes (if you have active process)
8. Click Next
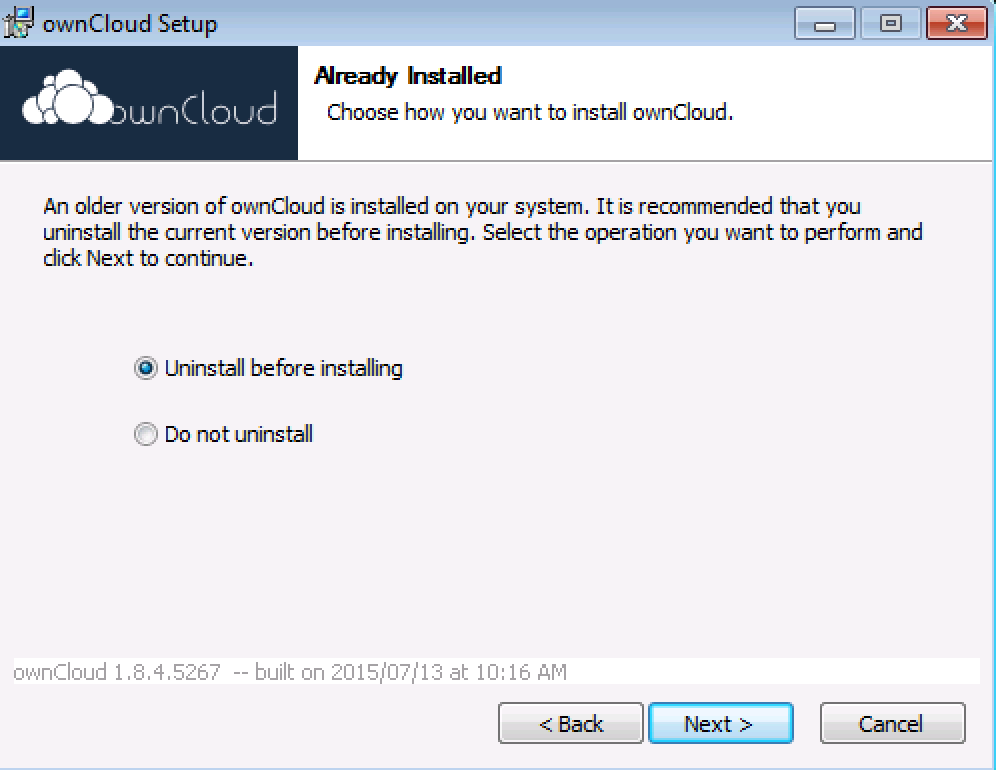
9. Select uninstall before installing and Click Next.
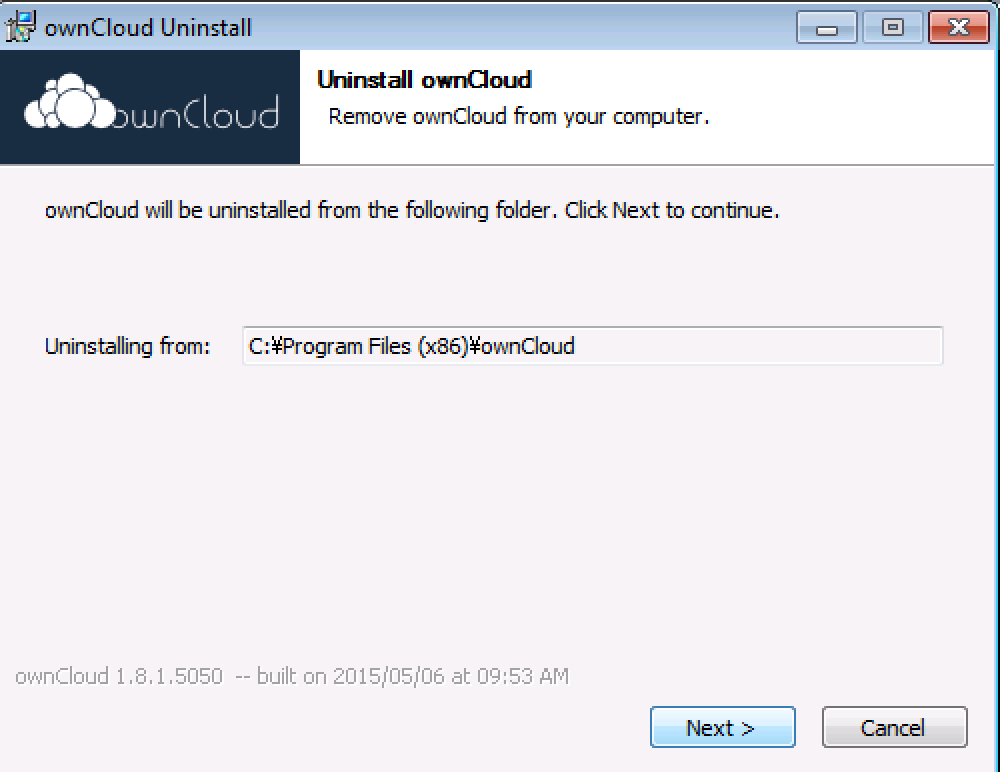
10. Click Next
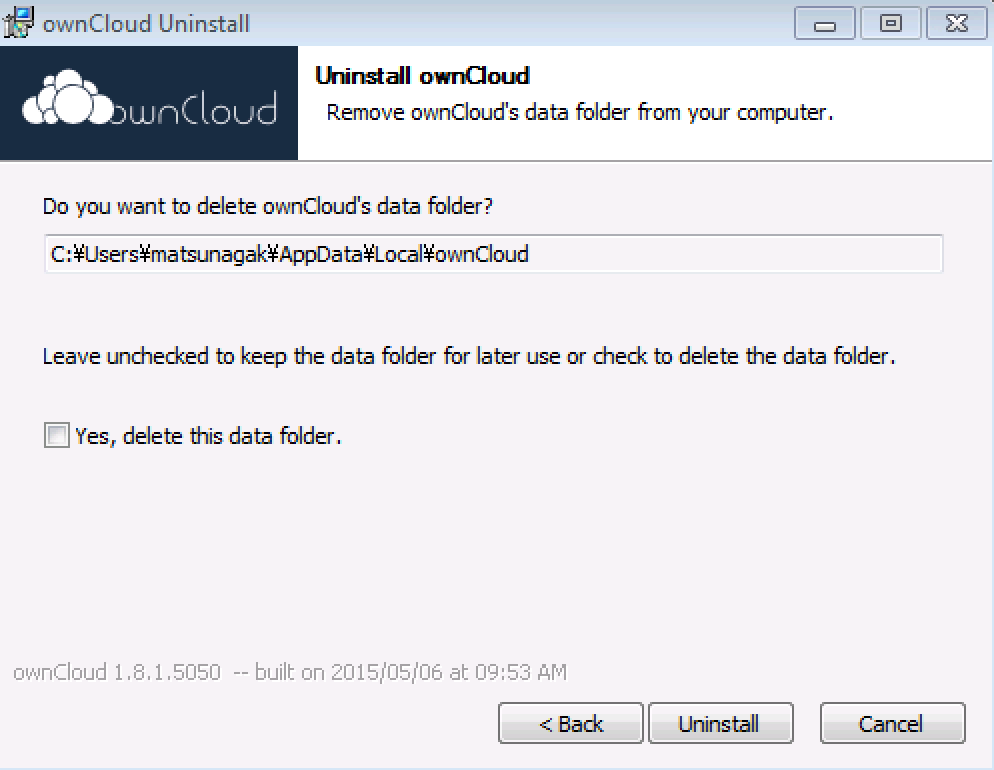
11.Click Uninstall
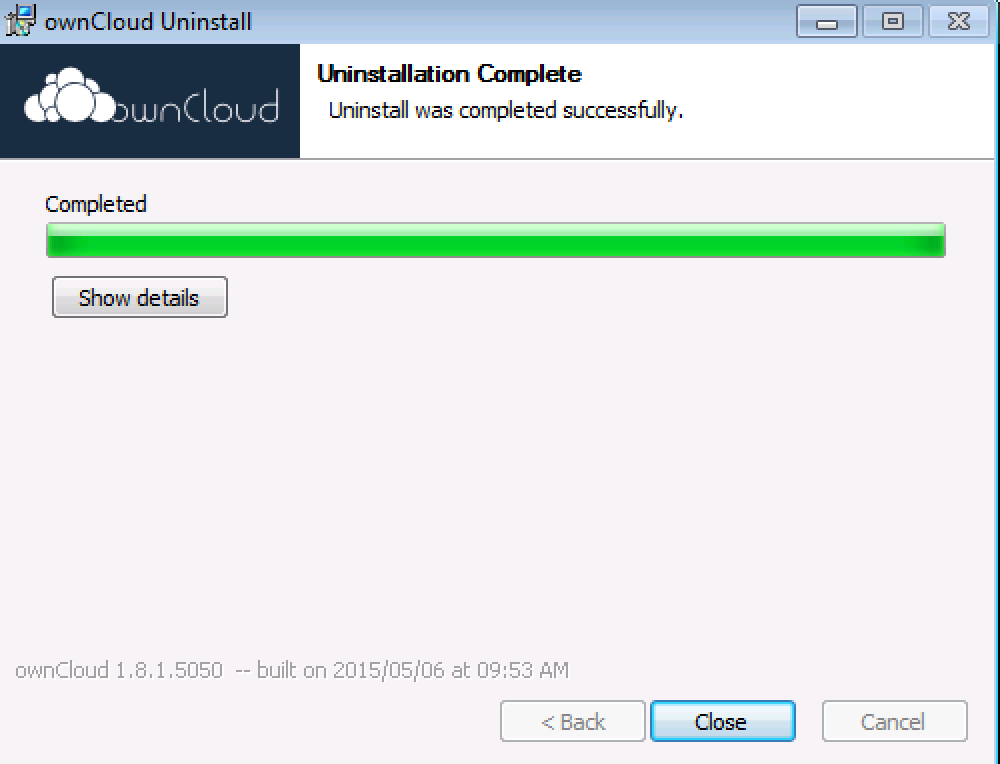
12.Click Close.
13. Click Next.
14.Click Install
15. Click Next
16. DONE
8. How to create a shared folder
1. Log in via web browser.
2. Locate the folder to share, or create a new folder.
3. Click three dots (...) of the folder, then select "Details".
4. Select "Sharing" tab in the details panel.
5. Enter a user name or group name to which you want to share, then select the user or group in the popup. Repeat until all target users and groups are listed.
6. Modify permissions for each users and groups as needed.
7. Shared folders are labeled as "Shared" in the files list.
You can also download a PDF version from Here.
Comments
0 comments
Article is closed for comments.